
Crochet for Absolute Beginners
Everything you need to make your very first stitches and finish a real, useful project. No experience needed.
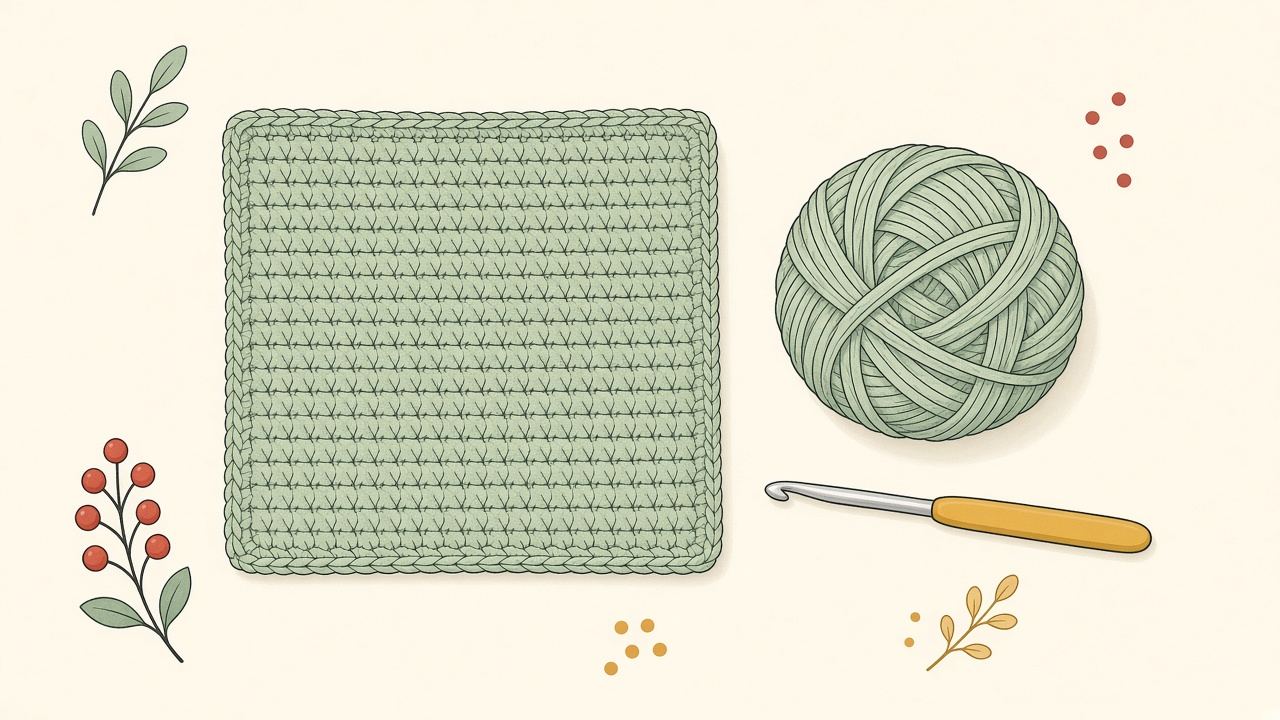
If you've never held a crochet hook before, you're in exactly the right place. Crochet looks complicated, but it's built from a handful of simple movements repeated over and over. Learn those, and you can make almost anything.
This guide takes you from "what do I even buy?" to a finished dishcloth. Go slowly. Your first stitches will look wobbly. Everyone's do, and that's fine.
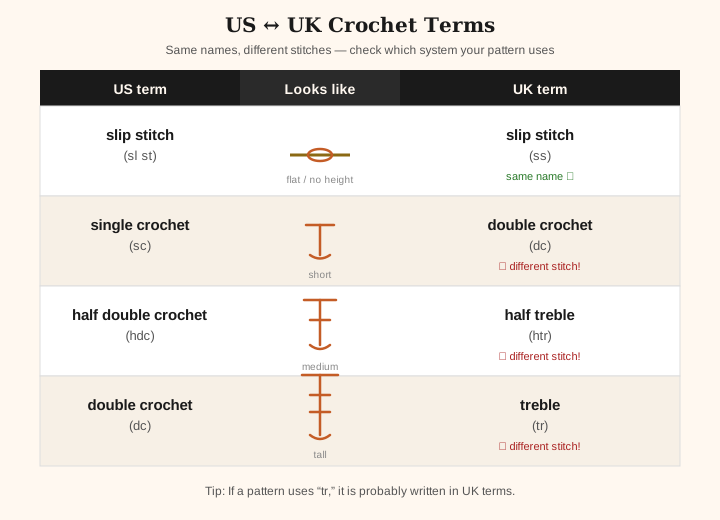
A quick note on terms: This guide uses US crochet terms, which most online patterns use. UK patterns use the same stitch names for different stitches, which confuses a lot of beginners. Wherever it matters, you'll see the UK name in brackets, like this: single crochet [UK: double crochet].
Part 1: Tools and Yarn
You need surprisingly little to get started. Expect to spend about $10–$20.
What to buy
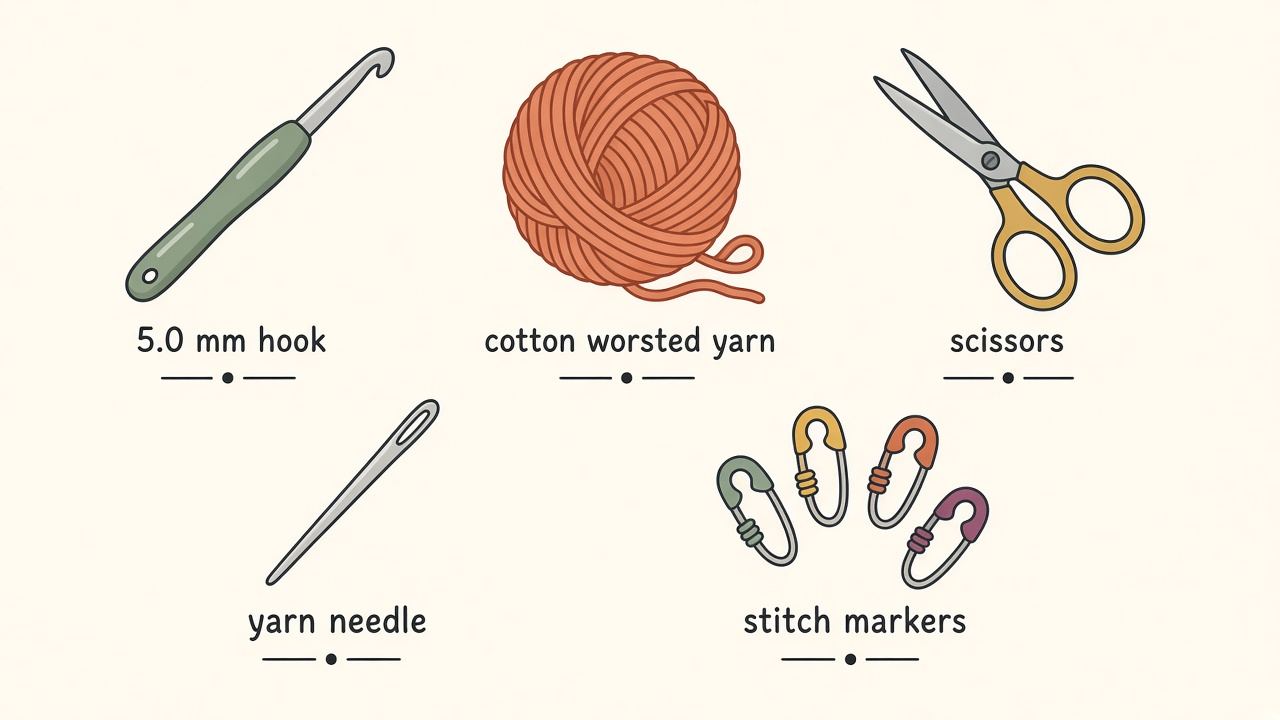
- One crochet hook, size H-8 (5.0 mm). This is a comfortable, middle-of-the-road size for beginners. If you can find one with a soft, chunky handle (often called an "ergonomic" hook), your hand will thank you.
- One ball of smooth, light-colored yarn in worsted weight. For the dishcloth project below, choose 100% cotton.
- A pair of scissors. Any sharp pair will do.
- A yarn needle (also called a tapestry needle). It's a big, blunt needle with a large eye, used to tidy up the loose ends when you finish.
- Optional: a few stitch markers. Small clips that help you keep track of your first and last stitch. A safety pin or scrap of yarn works just as well.
Understanding hook sizes
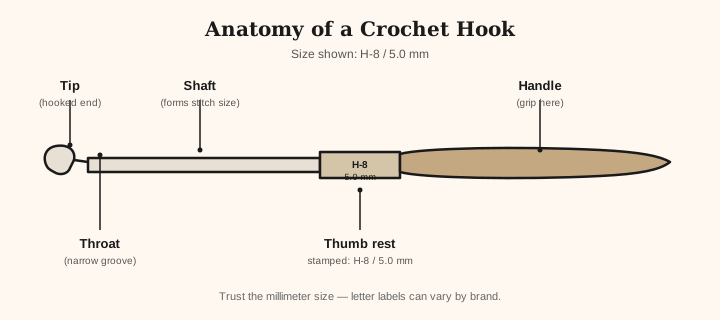
Hooks are labeled in millimeters (mm), and in the US also with a letter and number. The millimeter size is the one to trust, because letter labels can vary slightly between brands.
| US label | Metric | Good for |
|---|---|---|
| G-6 | 4.0 mm | DK / lighter worsted yarn |
| H-8 | 5.0 mm | Worsted yarn (great first hook) |
| I-9 | 5.5 mm | Worsted yarn, looser fabric |
| J-10 | 6.0 mm | Heavier worsted / aran |
UK and European hooks are usually labeled in millimeters only.
Understanding yarn weight
"Weight" means how thick the yarn is, not how heavy the ball is. Yarn labels in the US often show a number from 0 to 7 inside a little ball of yarn symbol.
- Worsted weight (#4, "Medium") is the best place to start. It's thick enough to see your stitches clearly, but not so thick that it's clumsy. In the UK, the closest match is aran. (UK DK is a little thinner, about a US #3 "Light".)
- The yarn label is your friend. It usually suggests a hook size. If it says 5.0 mm, you're in business.
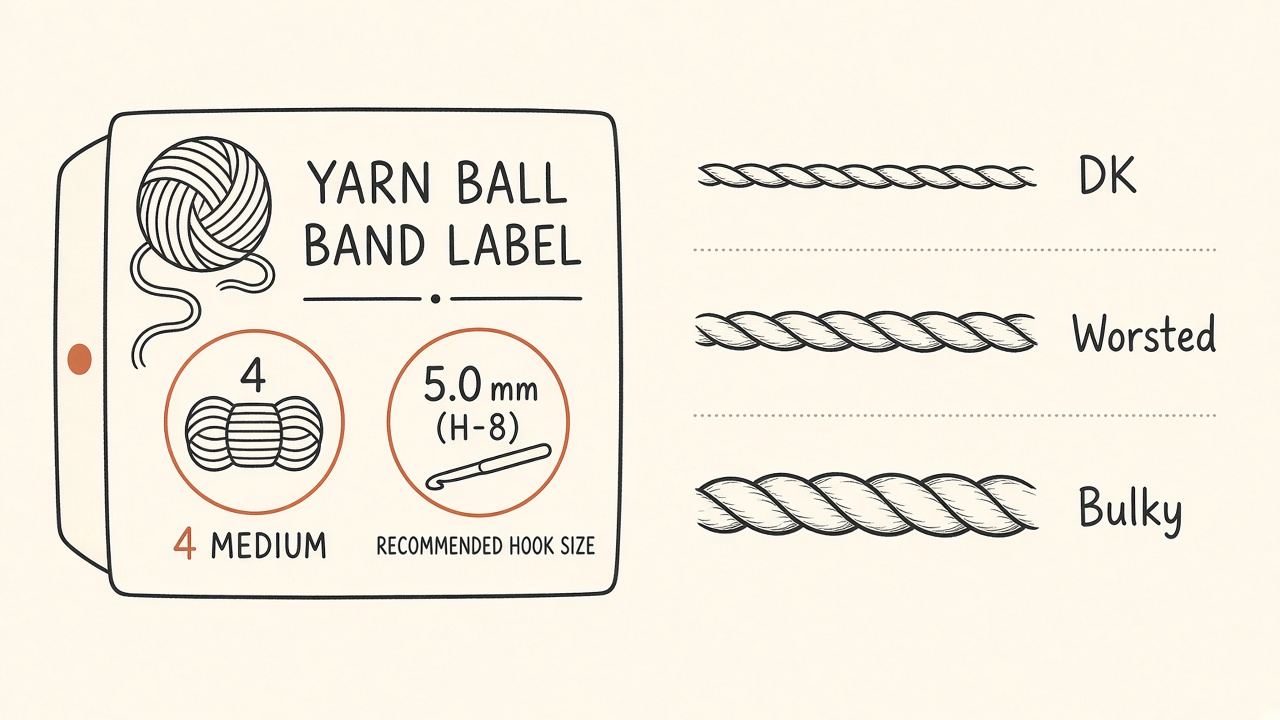
Tips for choosing your first yarn
- Pick a light, solid color. Dark, variegated, or speckled yarn makes it hard to see your stitches.
- Pick smooth yarn. Avoid fuzzy, fluffy, bumpy, or "eyelash" yarns for now. They're lovely but hard to learn on.
- Cotton vs. acrylic: Cotton is ideal for dishcloths because it's absorbent and washable. It's a little less stretchy, so it can feel stiff at first. Acrylic is soft, stretchy, cheap, and forgiving, and it's great for practice swatches. Either is a fine first choice; for the dishcloth, use cotton.
Part 2: Holding the Hook and Yarn
There's no single "right" way. These are starting points. Adjust until it feels comfortable.
Holding the hook
Hold the hook in your dominant hand. Most people use one of two grips:
- Pencil grip: hold the hook like a pencil, between your thumb and index finger, resting on your middle finger.
- Knife grip: hold the hook like you're cutting with a dinner knife: hand over the hook, palm down, end of the hook under your palm, thumb and middle finger pinching the thumb rest, index finger along the top.

- Thumb + index finger pinch the thumb rest
- Shaft rests on the web between thumb and index
- End points up and back over the hand

- Index finger lies along the top of the hook toward the head
- Thumb and middle finger pinch the thumb rest
- End sits under the palm, pointing toward the wrist
Either is fine. Keep the hook facing slightly toward you, with the hooked end pointing down, so it can catch the yarn.
Holding the yarn
Your other hand has two jobs: holding your work, and controlling the yarn coming from the ball (the "working yarn").
A common way to start:
- Let the working yarn run from the ball, over the back of your little finger (or loosely around it), under your ring and middle fingers, and over your index finger.
- Lift your index finger slightly. This keeps the yarn a little bit tight, which is called tension.
- Pinch your work just below the hook with your thumb and middle finger.

- Yarn over the index finger for tension
- Yarn runs up between the fingers
- Thumb and middle finger pinch the chain
- Hook held in pencil grip
Tension tip: You want the yarn snug but not tight. If your stitches are so tight the hook won't go in, loosen up. If they're loose and floppy, wrap the yarn once more around a finger. Tension improves with practice. Don't worry about it too much at first.
Part 3: Your First Stitches
Practice each of these until it feels familiar before moving on. A small practice piece (called a swatch) is perfect for this.
1. The slip knot
This is how almost every crochet project begins. It puts the first loop on your hook.
- Make a loop with the yarn, crossing the tail (the short end) over the working yarn.
-
Reach through the loop and pull a bit of the working yarn back through it, making a new loop.
-
Put that new loop on your hook.
- Gently pull the tail and the working yarn to snug the loop around the hook. It should slide easily, not choke the hook.
Watch it step by step:
This loop on the hook does not count as a stitch.
2. The chain (ch)
UK: chain (same name)
Chains make the foundation that your first row sits on.
- With the slip knot on your hook, yarn over: wrap the working yarn over the hook from back to front.
- Catch the yarn with the hook and pull it through the loop on your hook.
That's one chain. Repeat to make as many as you need. Each chain looks like a little "V" from the front.
Counting chains: Don't count the loop on your hook, and don't count the slip knot. Only count the V's.
Watch it step by step:
3. Single crochet (sc)
UK: double crochet (dc)
This is a short, sturdy stitch and the most important one to learn.
To work your first row into a chain:
- Insert your hook into the 2nd chain from the hook (skip the chain right next to your hook).
-
Yarn over and pull the yarn through the chain. You now have 2 loops on your hook.
-
Yarn over again and pull through both loops. You now have 1 loop on your hook.
That's one single crochet. Work one in each chain to the end.
Watch it step by step:
To start the next row: chain 1, then turn your work over (like turning a page). That chain 1 is a turning chain; for single crochet it does not count as a stitch. Work your first single crochet into the very first stitch, inserting the hook under both loops at the top of each stitch (the little "V" on top).
4. Double crochet (dc)
UK: treble crochet (tr)
This stitch is about twice as tall as a single crochet, so your work grows faster and feels softer and more open.
To work your first row into a chain:
- Yarn over first (before inserting the hook).
-
Insert the hook into the 4th chain from the hook.
-
Yarn over and pull up a loop. You now have 3 loops on the hook.
-
Yarn over and pull through the first 2 loops. You now have 2 loops.
-
Yarn over and pull through the last 2 loops. You now have 1 loop.
That's one double crochet. A handy rhythm to remember: "yarn over, in, pull up; over, through two; over, through two."
Watch it step by step:
To start the next row: chain 3 and turn. For double crochet, that chain 3 usually counts as the first stitch, so you work your next double crochet into the second stitch. At the end of the row, work your last double crochet into the top of the previous row's chain 3. (Always check the pattern, since some designers do this differently.)
Also handy: the slip stitch (sl st)
UK: slip stitch (same name)
Insert the hook into a stitch, yarn over, and pull through the stitch and the loop on your hook in one go. It's used to join and finish things neatly rather than to build height.
Fastening off
When you're done:
- Cut the yarn, leaving a tail about 6 inches (15 cm) long.
- Yarn over and pull the tail all the way through the loop on your hook. Pull gently to tighten. That's your knot.
Part 4: Your First Project: A Simple Dishcloth
A square of single crochet. It's practical, it's quick, and nobody minds if a dishcloth is a little wonky.
You'll need
- About 50–60 g (around 80–100 yards / 75–90 m) of worsted weight (#4) cotton yarn. One standard ball is plenty.
- H-8 (5.0 mm) hook
- Scissors and a yarn needle
Finished size: about 7 x 7 inches (18 x 18 cm). Don't worry if yours comes out a little bigger or smaller. It'll still wash dishes.
Stitches used: chain (ch), single crochet (sc) [UK: double crochet]
Instructions
Foundation: Make a slip knot and chain 26.
Row 1: Single crochet in the 2nd chain from the hook, then single crochet in each chain to the end. (25 stitches)
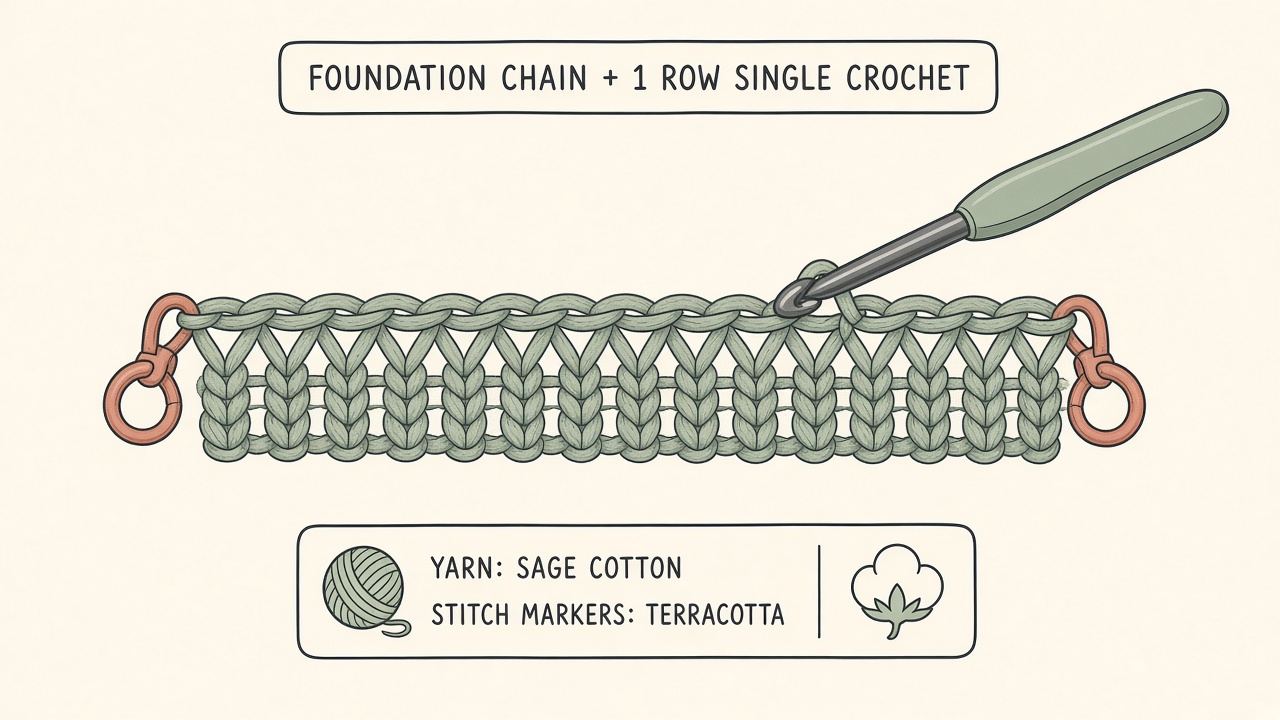
Row 2: Chain 1 and turn. Single crochet in the first stitch and in each stitch across. (25 stitches)
Rows 3 and onward: Repeat Row 2 until your piece is roughly square. To check, fold one bottom corner up to the opposite side edge. If it makes a neat triangle, you're done. This usually takes about 28–32 rows, depending on your tension.
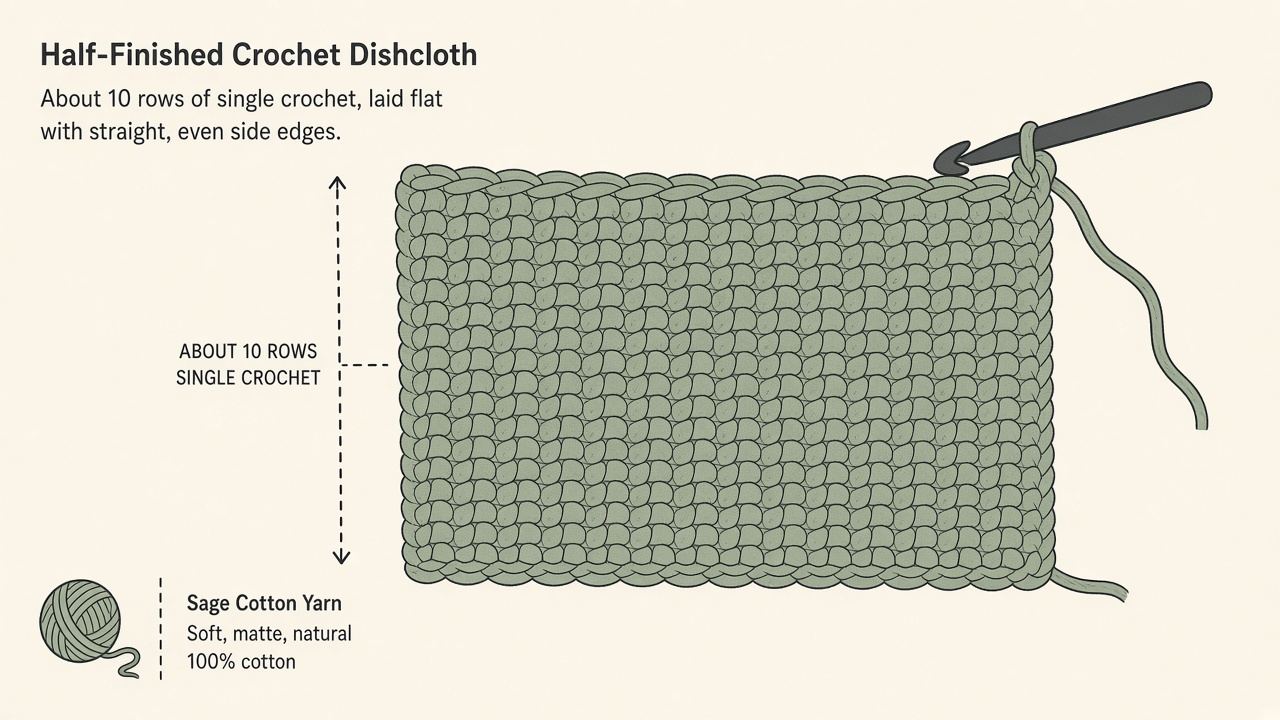
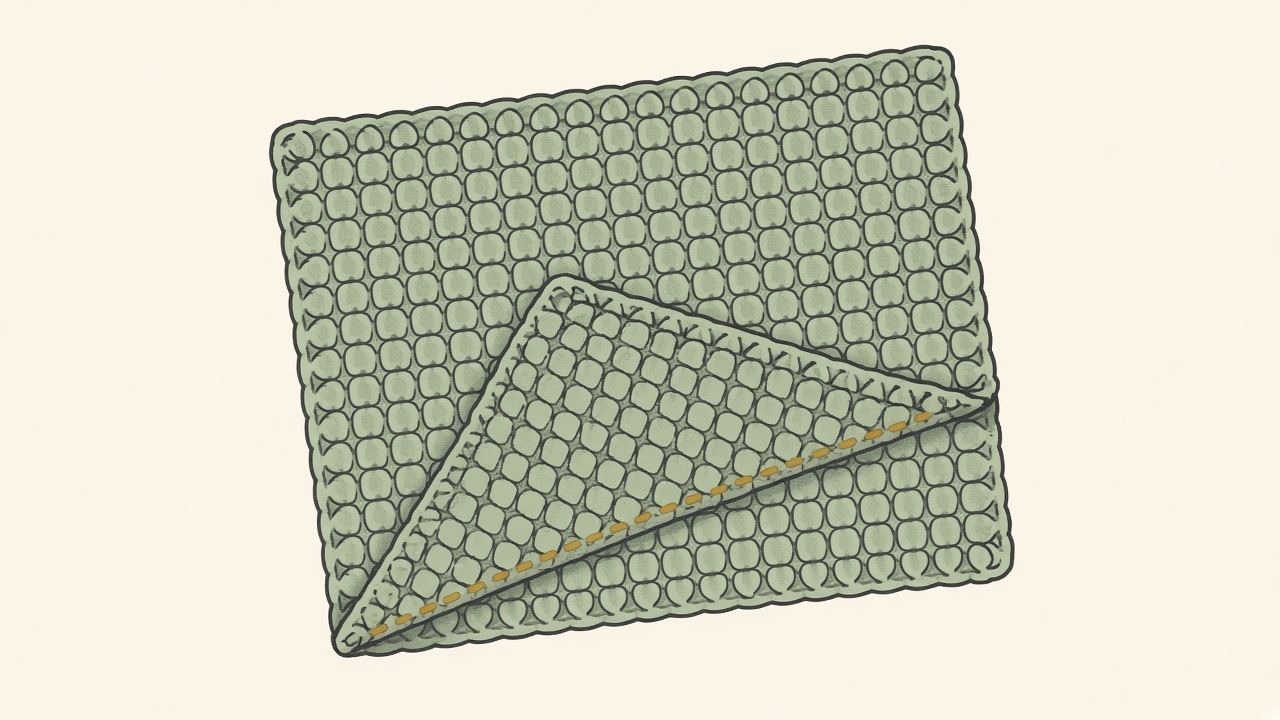
Finish: Fasten off, leaving a 6-inch tail.
Weave in the ends: Thread each tail onto your yarn needle. Weave it in and out of the stitches on the back of the dishcloth for an inch or two, then change direction and weave back a little. Trim what's left.
Congratulations, you made a real thing!
Keep yourself on track
- Count your stitches at the end of every row. You should have 25 each time. Counting every row is the single best beginner habit.
- Put a stitch marker in the first and last stitch of each row. They're the easiest ones to miss.
- Want to try double crochet? Make a second dishcloth: chain 25, double crochet in the 4th chain from the hook and in each chain across (the skipped chains count as your first stitch, so you'll have 23 stitches). Chain 3 and turn at the start of each new row. Keep going until it's square.
Part 5: Common Beginner Mistakes (and How to Fix Them)
"My edges are slanting in or out." (Your piece is getting narrower or wider.) You're losing or adding stitches, usually at the ends of rows. Skipping the very first or last stitch shrinks the row; working into the turning chain by accident grows it. Count every row and use stitch markers on the end stitches.
"My stitches are so tight I can't get my hook in." Loosen your grip on the yarn. Make sure each new loop sits on the thick part of your hook (the "shaft"), not the narrow throat near the tip. You can also try a hook one size bigger.
"My work is loose and holey." Wrap the yarn once more around a finger for extra tension, or try a hook one size smaller.
"My foundation chain is tight and puckering." Very common. Try making your chains with a hook one size larger, then switch back to your regular hook for Row 1.
"I followed the pattern and it looks totally different." Check whether the pattern uses US or UK terms. A UK "double crochet" is a US single crochet, and a UK "treble" is a US double crochet. If the pattern mentions "tr," it's probably UK.
"I made a mistake three rows ago." Gently pull the hook out and tug the working yarn. Crochet unravels easily (crocheters call this frogging, because you "rip it, rip it"). Pull back past the mistake, put the loop back on your hook, and carry on. This is completely normal and happens to experienced crocheters too.
"My hand hurts." Take breaks, loosen your grip, and try an ergonomic hook. Crochet should feel relaxing.
Part 6: Where to Go Next
Once your dishcloth is done, here are good next steps, roughly in order:
- Make a second dishcloth in double crochet, or alternate rows of single and double crochet. You'll be surprised how much smoother it feels the second time.
- Learn half double crochet (hdc) [UK: half treble, htr], which sits between single and double crochet in height. It's a wonderful all-purpose stitch.
- Try a simple scarf. It's the same technique as the dishcloth, just a longer rectangle. Use soft acrylic or wool-blend worsted yarn.
- Learn to read pattern abbreviations. Patterns use short forms like ch, sc, dc, sk (skip), st (stitch), rep (repeat), and * * to mark repeats. Most patterns include a key.
- Learn to work in the round with a magic ring. This opens up hats, coasters, and amigurumi (small stuffed toys).
- Browse our beginner pattern directory. Every pattern there is chosen for first-time makers and labeled with the skills it uses, so you always know what you're getting into.
Most of all: be patient with yourself. Every crocheter you admire once made a lumpy first square. Keep going. Your hands will learn faster than you expect.
Happy making!