
Embroidered Gifts for Beginners: Ornaments, Hoops and More
These 12 free patterns are sorted by what you'd give: 4 ornaments, 4 hoops and 4 other stitched gifts, including a wildflower design its page says suits hoops, bags and pillow covers, a tea towel, gift tags and a bookmark. Each pattern belongs to its designer: we link to it and don't copy it.
If you've never embroidered, start with our beginner embroidery guide. It covers the hoop, the floss and six stitches: running stitch, backstitch, split stitch, stem stitch, lazy daisy and the French knot. Most patterns here use those and then add one or two more. The ones that add a lot are marked "Harder" and placed last in their group (picks 7, 8, 10, 11 and 12).
Two things to check before you buy floss. First, the stitches. We compared each pattern's stitch list with the six in our guide. "Harder" means three or more new stitches, which we count as stitches outside those six, or felt appliqué with fusible web. Every "Harder" tag below uses that one count. The extra stitches you'll meet most often are satin stitch, which fills a small shape with straight stitches laid side by side, and blanket stitch, which loops along an edge. Second, the download. Several of these are PDFs on a designer's blog, and a site can add a sign-in at any time. Where a download asks for an email, or we couldn't confirm it doesn't, the pick says what we saw and when.
Times are quoted from the designer. Where the designer gives none, we give a rough estimate marked "(our estimate)". Here is how we estimate: we judge how much stitching the pattern shows (the length of the outlines, the number of filled shapes, the number of stitch types and colors, and the hoop size) for someone who already knows the stitches. Nobody timed anything, and no designer supplied these numbers. A first project will likely take longer, and finishing steps like cutting felt or gluing a hoop are extra.
This list uses US terms with the UK name in brackets: embroidery floss [UK: stranded cotton]. Hoops are in inches, as the patterns give them. Some designers use a heat-erasable or water-soluble pen to transfer the design. Our guide doesn't suggest heat-erasable pens for a first piece, because the ink can reappear in the cold or leave a faint line, so check what your pen does on a scrap first.
A safety note, because these are gifts. Needles, pins and scissors are sharp. The American Academy of Pediatrics (AAP) lists swallowed needles and pins as a serious problem, and says most need urgent removal. The AAP also names beads, buttons and pins among the small objects that can be choking hazards, and its toy-buying advice says to take off loose ribbons or strings to avoid strangulation. The US Consumer Product Safety Commission (CPSC) defines a small part as anything that fits entirely into a cylinder approximating the fully expanded throat of a child under 3. Felt ornaments, beads, sequins, buttons, mini hoops and twine loops are not made as toys, so keep them away from babies and children under 3, and store your needles where children can't reach them.
Every picture on this page is a drawing, not a photo of a finished project and not the designer's photo. Each one shows the pattern as described, and each caption says so.
Ornaments
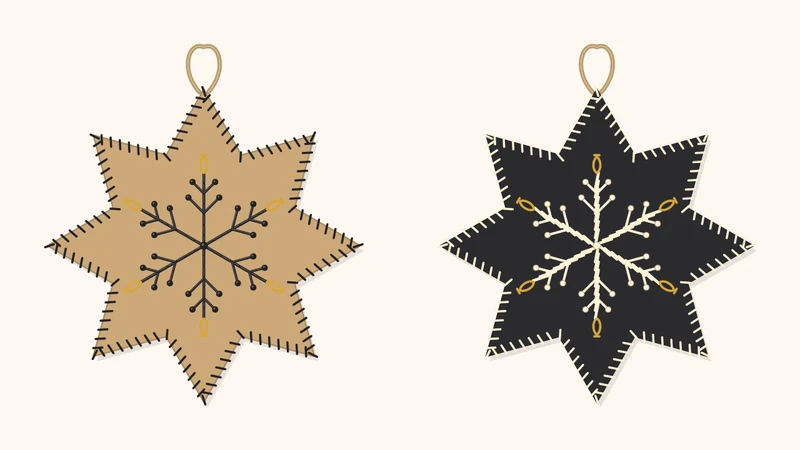
1. DIY Snowflake Felt Ornaments, Free Stick & Stitch Designs (designer’s site, opens in a new tab)
- Designer: Kylie, Saint Rogers Street
- Level: the designer calls the stitches "beginner friendly"
- You need: felt (the designer used tan and black), DMC floss 310 (black), 712 (cream) and D3821 (gold) in 3 strands, an embroidery hoop, Stick & Stitch paper printed with the free template, twine for the loop, running water to rinse off the paper, and stuffing (the designer recycled a piece of a plastic bag; the page names no stuffing product)
- Skills: backstitch, straight stitch, French knot, lazy daisy, stem stitch, then a simple stitch around the edge to join the two felt pieces
- Finished size: not stated on the page
- Time: none stated; about 2 to 4 hours per ornament (our estimate)
- Free: the PDF has 3 pages with 12 snowflake designs. As of Nov 4, 2026, the link on the page opened the PDF directly, with no email form.
We picked this because all but one of its named stitches are the ones in our guide, and you get 12 designs to choose from. The one extra, straight stitch, is a single stitch.
Heads-up: this needs Stick & Stitch paper, a printer and stuffing, which is more than floss and felt. The stitched Stick & Stitch paper is rinsed off under warm running water, so the felt needs time to dry. The designer uses 3 strands, one more than our guide's 2. Keep the stuffed ornament and its twine loop away from babies and young children.
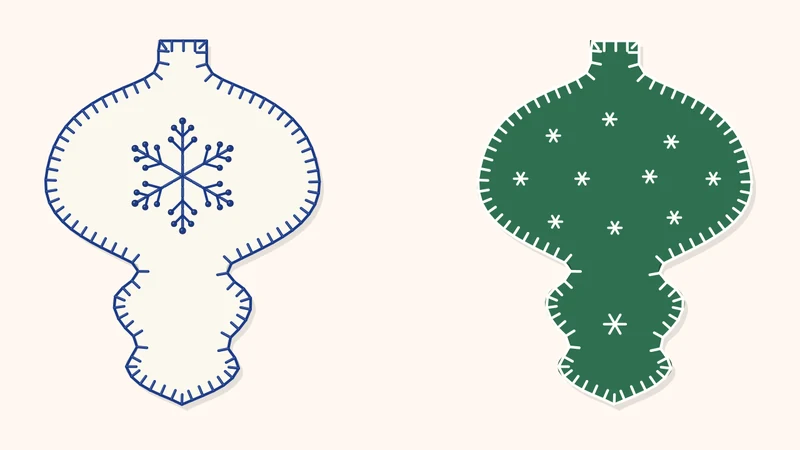
2. Vintage Inspired Embroidered Felt Christmas Baubles (designer’s site, opens in a new tab)
- Designer: Susan Flemming, Super Mom No Cape
- Level: the designer says it "would be a good beginner embroidery project as it uses just three basic stitches"
- You need: felt (white for the snowflake, green for the star version), DMC 796 for the snowflake or white floss for the stars, tissue paper to transfer the design, light stuffing and an embroidery needle, in 2 strands of floss
- Skills: backstitch, French knot, blanket stitch
- Finished size: about 3½" wide and 4½" tall
- Time: none stated; about 2½ to 4 hours (our estimate)
- Free: the PDF is linked on the page, with no email form. As of Nov 4, 2026, it opened directly.
We picked this for the two designs in one PDF, a snowflake and a set of small stars, and for the short stitch list. The blanket stitch around the edge is the only stitch not in our guide.
Heads-up: the designer says to stuff it lightly, and the page says either version can be left plain or finished with an optional whip stitch around the edge. The French knots are small raised bumps, so keep the finished ornament away from babies and young children.
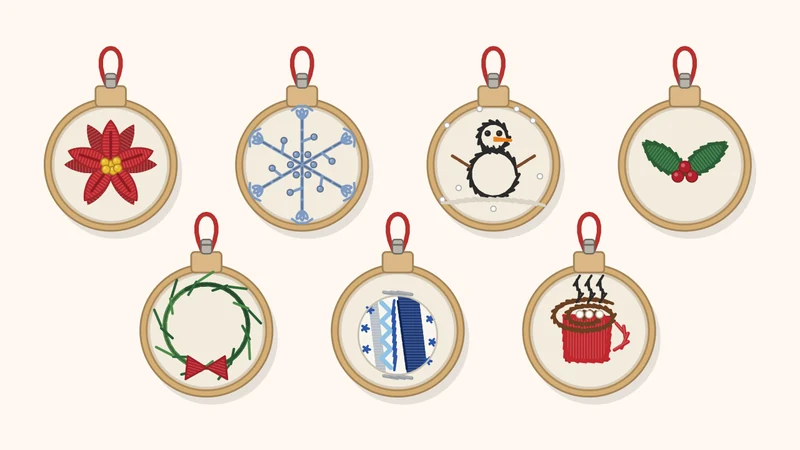
3. FREE Mini Christmas Ornament Embroidery Patterns (designer’s site, opens in a new tab)
- Designer: Laura, The Cozy Cuttlefish
- Level: the designer says "You only need to know a few basic embroidery stitches"
- You need: a 7" hoop for stitching, muslin, a size 9 needle, floss (the designer used about 3 strands), a water-soluble pen, 1" mini embroidery hoops, glue and small pliers
- Skills: the 7 designs (poinsettia, snowflake, snowman, holly, wreath, stripes and spots, hot chocolate) use stem stitch, satin stitch, straight stitch, French knots, split stitch, detached chain (like a lazy daisy) and backstitch. The page lists the stitches for each design, and no design uses all seven.
- Finished size: 1" mini hoops
- Time: the designer says each one is "easy to finish in an hour or two". The page doesn't say whether that includes gluing the hoop.
- Free: free, but the page asks for your email first: "Enter your email below to receive a FREE printable PDF of all 7 mini Christmas ornament embroidery designs." The button reads "SEND IT MY WAY!" As of Nov 4, 2026, we didn't submit the form, so we haven't seen the PDF.
We picked this for the size: the designer says each mini design is a short project, and the page offers all seven designs in one free PDF.
Heads-up: each mini hoop has a screw and a nut, two small wood circles are glued behind the stitching, and a ribbon or string loop hangs from the screw. Pliers and glue are part of the finishing. These are small parts, so keep them away from babies and children under 3. The page lists the stitches and floss colors for each design, so you can check them before you sign up.
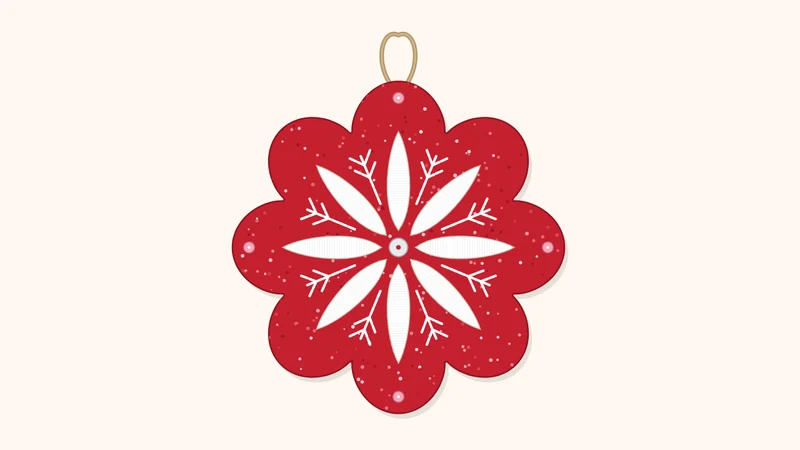
4. Snowflake Christmas Ornament, FREE Pattern for Beginners (designer’s site, opens in a new tab)
- Designer: Nat, Embroidery Art by Nat
- Level: the page says it's suitable "for beginners without any experience"
- You need: felt and floss; the listing says the PDF has a materials list with links where to buy, and the printed design goes on Stick & Stitch stabilizer. The page gives no floss colors, hoop size or finished size.
- Skills: satin stitch, backstitch, lazy daisy, blanket stitch. The page also mentions experimenting with beads and sequins.
- Finished size: not stated on the page
- Time: none stated; about 3 to 5 hours (our estimate)
- Free: the page lists it at $0.00 CAD (the crossed-out price is $8.00 CAD). As of Nov 4, 2026, it's sold through a shop checkout, and the page says the download link arrives by email, so expect to give an email address. We didn't complete a checkout. We haven't seen the PDF.
We picked this because the listing says it includes 3 video tutorials and extra stitch guides, and the ornament is double-sided.
Heads-up: the page gives no size or floss list, so you won't know the full supplies until you have the PDF. Beads and sequins are choking hazards, so skip them for any child under 3.
Hoops
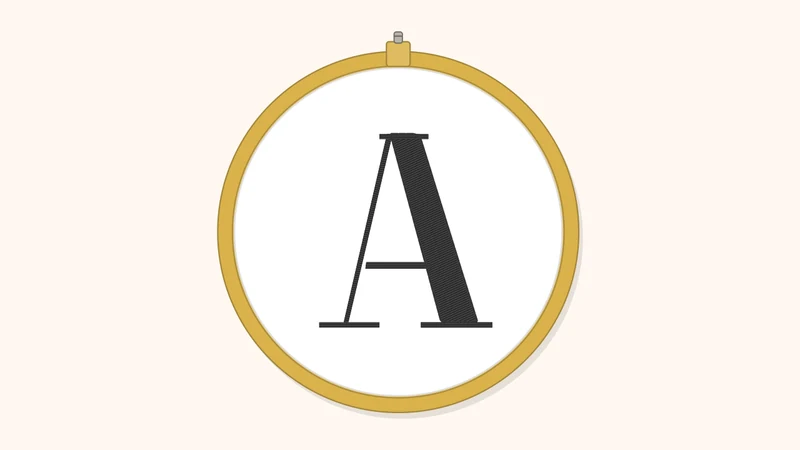
5. DIY Monogram Embroidery Hoop (designer’s site, opens in a new tab)
- Designer: Stevie Storck, Stevie Storck Design Co.
- Level: none stated; the page says you need only two types of stitches
- You need: a 4" hoop, white cotton fabric (about 6" × 6"), black floss (the designer threads 2 strands, doubled over, so you stitch with 4 strands), a pencil or fine-tip pen for tracing, craft glue for the back of the hoop, and optionally gold spray paint for the outer hoop
- Skills: split stitch for the outline, satin stitch to fill
- Finished size: 4" hoop
- Time: none stated; about 1½ to 3 hours for one letter (our estimate)
- Free: the PDF has all 26 letters over 13 pages. As of Nov 4, 2026, the page's download button opened the 13-page PDF directly, with no form. The page also still has older text saying to sign up for email updates to get the link, then says "no email sign up required".
We picked this because it uses two stitches and a single letter makes a quick personal gift.
Heads-up: this page is from 2017 and its signup text is out of date, so check the download yourself. The gold outer hoop is optional spray paint; the designer says to let it dry overnight, or leave the wood bare. Keep paint and small hoops away from babies and young children.
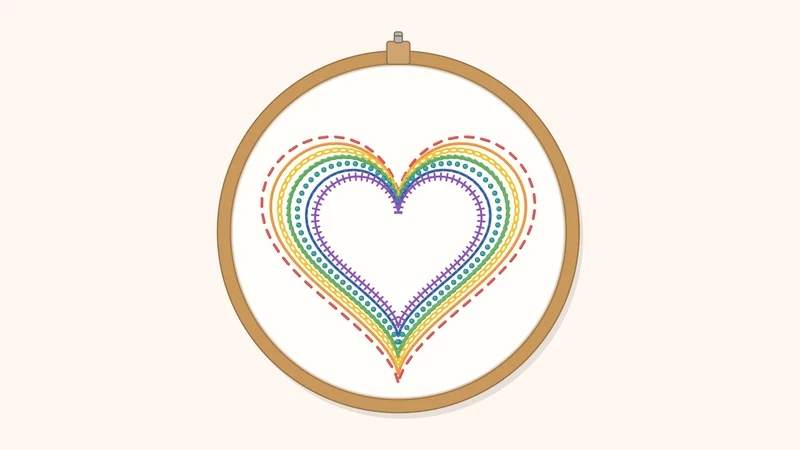
6. Free Heart Embroidery Stitch Sampler (designer’s site, opens in a new tab)
- Designer: Ruth Cartwright, Craft with Cartwright
- Level: none stated
- You need: a 7" hoop, fabric, floss in at least 2 strands (the designer suggests a rainbow of colors), a printed A4 PDF
- Skills: 7 stitches, one for each of 7 concentric hearts: running stitch, French knot, backstitch, chain stitch, stem stitch, split stitch and cable stitch
- Finished size: fits a 7" hoop
- Time: none stated; about 5 to 9 hours (our estimate)
- Free: the PDF is for personal use. As of Nov 4, 2026, the link on the page opened the PDF directly.
We picked this as a way to practice seven stitches in one gift. Five of the seven are in our guide; chain stitch and cable stitch are the new ones.
Heads-up: this is a stitch sampler, so it's a row of lines rather than a picture. The PDF is A4 and draws the hearts inside a circle for a 7" hoop, so check the circle against your hoop after you print.
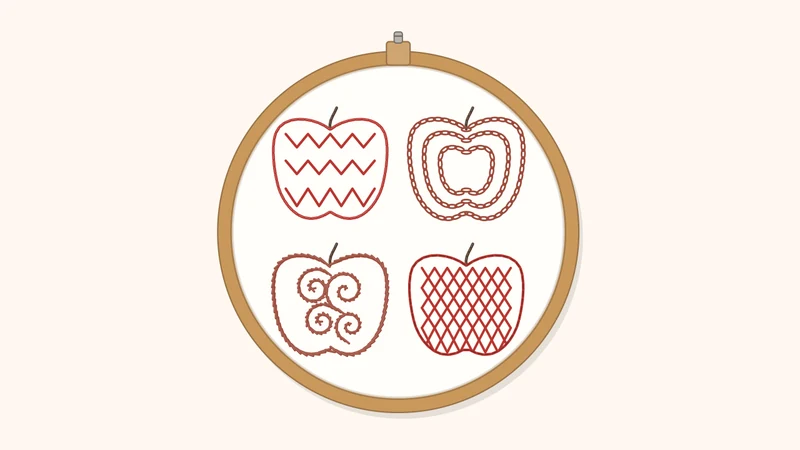
7. Free Apple Sampler Embroidery Pattern (designer’s site, opens in a new tab) Harder: three new stitches
- Designer: Wandering Threads Embroidery
- Level: none stated
- You need: a 7" or 8" hoop, a 10" × 10" square of light or dark fabric, DMC floss 347, 355 and 838, size 7 or 9 needle, a way to transfer the pattern (the PDF explains a light table, transfer paper and an iron-on transfer pencil), and felt or a wooden frame for finishing
- Skills: four apples, each a different stitch: chevron, chain, outline and herringbone (with backstitch and split stitch for outlines), and backstitch for the stems
- Finished size: fits a 7" or 8" hoop
- Time: none stated; about 4 to 8 hours (our estimate)
- Free: the PDF has 9 pages. As of Nov 4, 2026, the link on the page opened it directly, with no email form.
We picked this as a hoop where each apple practices one stitch. It sits in the "Harder" slot because chevron, chain and herringbone are outside our guide. Outline stitch is stem stitch with the thread held on the other side, which our guide mentions.
Heads-up: the page headline says three colors, but the list names two floss colors for the apples, plus a third for the stems. Check the PDF's materials page before you buy.
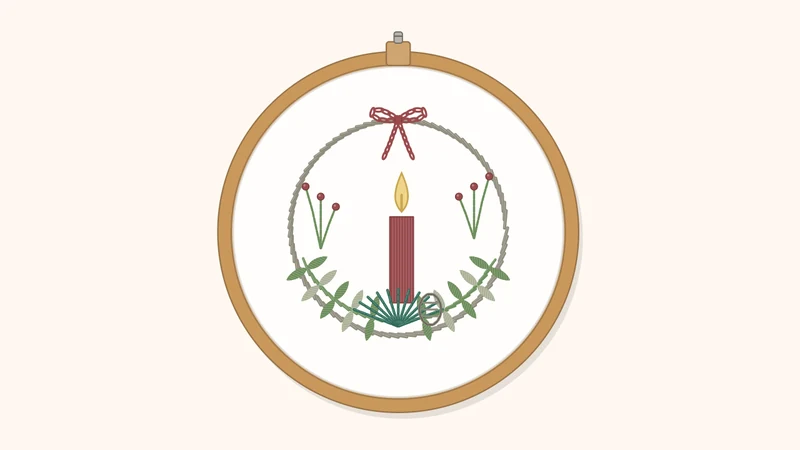
8. Free Holiday Embroidery Pattern & Tutorial (designer’s site, opens in a new tab) Harder: three new stitches
- Designer: Wandering Threads Embroidery
- Level: none stated
- You need: a 5" or 6" hoop for the 4" × 4" design, or a 7" or 8" hoop if you add the optional text (4" × 6"); fabric big enough for the hoop; a size 7 or 9 needle; DMC floss 3721, 08, 676, 3363, 523 and 501 for white fabric (the page lists a second set of numbers for blue or black fabric); felt for finishing the back of the hoop
- Skills: 8 stitches: outline, stem, fishbone, backstitch, split stitch, French knot, satin stitch, chain stitch. Outline stitch is stem stitch with the thread held on the other side, so we didn't count it.
- Finished size: 4" × 4", or 4" × 6" with the text
- Time: none stated; about 6 to 10 hours (our estimate)
- Free: the PDF has 10 pages. As of Nov 4, 2026, the link on the page opened it directly, with no email form.
We picked this for the candle, greenery and berries inside a ring topped with a bow. We marked it "Harder" because three of its eight stitches (fishbone, satin and chain) are outside our guide.
Heads-up: it uses 6 floss colors and 8 stitches, so it suits someone who has already finished a sampler.
And More
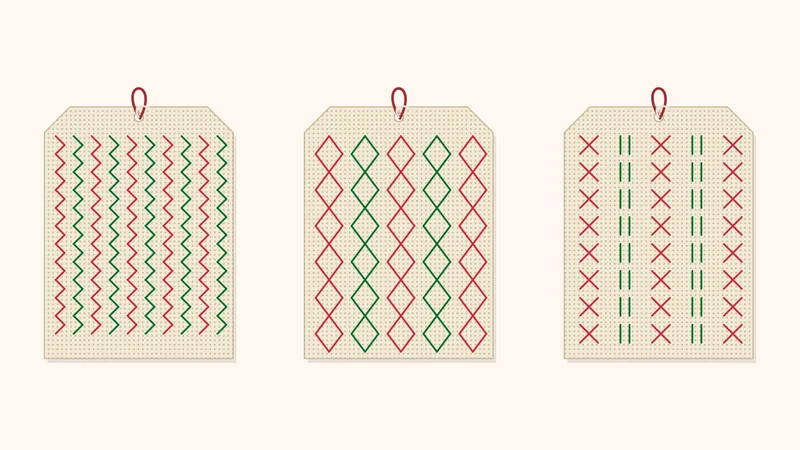
9. Free Hand-Stitched Gift Tag Patterns (designer’s site, opens in a new tab)
- Designer: Beth Colletti
- Level: the page says the stitches are "accessible to a beginner stitcher"
- You need: Mill Hill 14-count perforated paper, DMC floss 321, 699, 995 and 820 (2 strands, 4 strands for lettering), a size 5 needle, a ruler, a pencil, large scissors and small embroidery scissors, a hole punch and twine
- Skills: straight stitch and backstitch, with an optional overcast stitch around the edge
- Finished size: tags 3" × 4", 9 per sheet
- Time: none stated; about 1 to 2 hours per tag (our estimate)
- Free: the PDF is linked on the page, with no email form. As of Nov 4, 2026, it opened directly.
We picked this because it's the simplest gift here: two stitches, no hoop and no fabric to prepare.
Heads-up: perforated paper is a craft-store item, not fabric, so add it to your list along with a hole punch. A twine loop on a tag is a cord, so keep finished tags away from babies and young children.
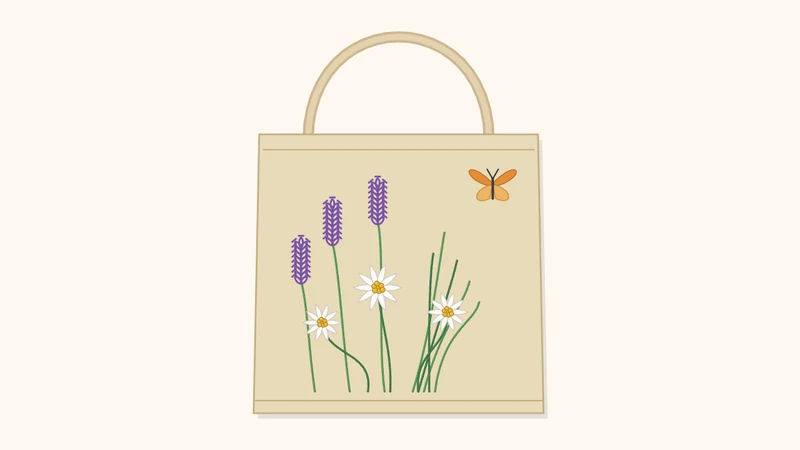
10. Blooming Wildflowers, Free Hand Embroidery Pattern (designer’s site, opens in a new tab) Harder: three new stitches
- Designer: Custom Textiles & Crafts
- Level: the page says "Perfect for beginners and experienced stitchers alike"
- You need: a hoop, fabric (the page says the design suits hoops, bags and pillow covers), floss; the page doesn't give a floss list or hoop size
- Skills: satin stitch, backstitch, French knots (or seed stitch), long and short stitch, straight stitch and lazy daisy
- Finished size: two sizes in the PDF, 5" and 6"
- Time: none stated; about 5 to 10 hours (our estimate)
- Free: the PDF is A4. As of Nov 4, 2026, the link on the page opened it directly, with no email form.
We picked this because the page says the design suits "hoops, bags, pillow covers", and it offers daisies, lavender, grasses and a butterfly in two sizes. It sits in the "Harder" slot because satin, long and short and straight stitch are outside our guide.
Heads-up: the page gives no fabric or floss advice. On an unlined tote, the back of your stitching shows inside the bag. A separate tote tutorial from Practical Embroidery says to avoid knots on the back for that reason and to secure the thread ends well.
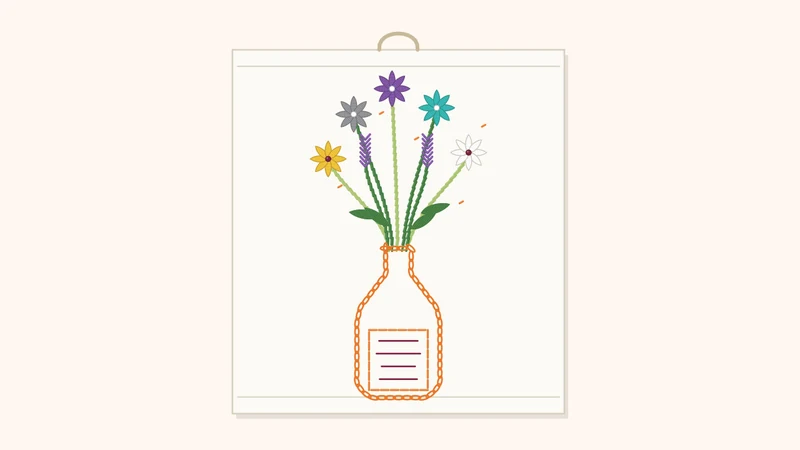
11. Free Tea Towel Embroidery Pattern (designer’s site, opens in a new tab) Harder: three new stitches
- Designer: Jessie Doe, as credited on the page, for Love Embroidery issue 1; the page is on Simply Sewing
- Level: the page calls it "the perfect pattern for beginners seeking their next challenge"
- You need: a cotton tea towel and embroidery floss in burgundy, light green, dark green, gray, orange, purple, turquoise, white and yellow, plus a basic embroidery kit and the free template
- Skills: French knots, satin stitch, stem stitch, straight stitch, chain stitch, backstitch, using 3 or 6 strands depending on the step
- Finished size: not stated on the page
- Time: none stated; about 6 to 10 hours (our estimate)
- Free: the template is an A4 PDF. As of Nov 4, 2026, it opened directly, with no email form.
We picked this because it's a gift that gets used. It's marked "Harder" because satin, chain and straight stitch are outside our guide.
Heads-up: the page used a lightbox and an erasable pen (it doesn't say which kind) to transfer the design. Our guide doesn't suggest erasable pens for a first piece, so try a pencil or a water-soluble pen on a scrap of the towel.
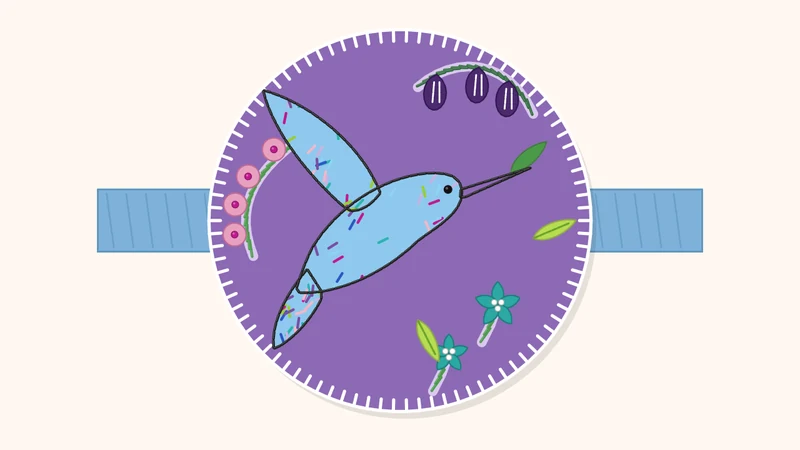
12. Create Your Own Bookmark: Hummingbird Embroidery (designer’s site, opens in a new tab) Harder: felt appliqué
- Designer: Heather Nugent, from Love Embroidery issue 12; the page is on Simply Sewing
- Level: the page calls it "beginner-friendly"
- You need: felt, Bondaweb (fusible web), fabric glue, 1.5 cm elastic, a 10 cm (about 4") hoop and the free template
- Skills: the page says four stitches (backstitch, French knot, stem stitch, straight stitch), plus felt appliqué with fusible web and a blanket stitch edge in the step list
- Finished size: not stated; the page lists a 10 cm (about 4") hoop, and the template is a circle
- Time: none stated; about 4 to 7 hours (our estimate)
- Free: the template is a PDF. As of Nov 4, 2026, it opened directly, with no email form.
We picked this as the one project here that works with felt appliqué. The page says it needs only four stitches.
Heads-up: fusible web is applied with a hot iron, so use care. Cut felt with small, sharp scissors, and keep glue, elastic and small felt scraps away from babies and young children.
Some patterns didn't make this list. We left out patterns whose download we couldn't open, patterns that were paywalled or had gone missing, and patterns that required harder stitches than we wanted in a beginner roundup.
If you've never threaded an embroidery needle, start with How to Start Embroidery, which takes you from the hoop to a six-stitch sampler. The Starter Kit is one printable page covering what to buy and what to make first: Free printable Starter Kit (PDF), plus 2 free patterns a month.